Phone lead management is where you can create a phone number to automate Lead calls that come in. This can be as simple as providing an automated response to calls and sending a lead form via SMS, to providing a multi-tiered phone answering service with a list of options to guide leads through to their most appropriate next steps of their enquiry.
Here we will be looking at how to set up a simple response number, that when called plays a audio message and sends a lead form via SMS.
To start creating phone numbers, you will need to go to Settings > Phone leads management in your Agent Response account. If you haven’t set up any numbers before, you will need to fill out a brief form to get a few more details about your business to be able to meet with UK regulations. This will take up to 3 business days to be verified.
Once you have done this, you will see a screen like this;
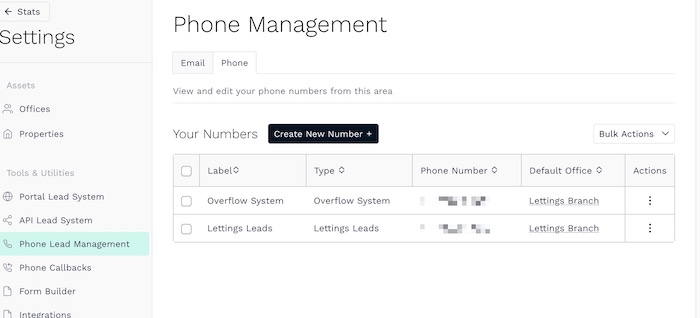
To create a new phone number by clicking the 'Create new number' button. You will be presented with a list of templates.
- Lettings lead - respond to Lettings viewing enquiries with a form
- Sales lead - respond to Sales viewing enquiries with a form
- Maintenance - respond to Property Maintenance calls with a form
- Overflow system - create a multi-tiered phone answering service
- Custom number - create a blank template to create your own number
For this, we will be looking at a simple single response phone number like the Lettings, Sales and Property Maintenance calls.
You can find out more about the [Overflow System here].
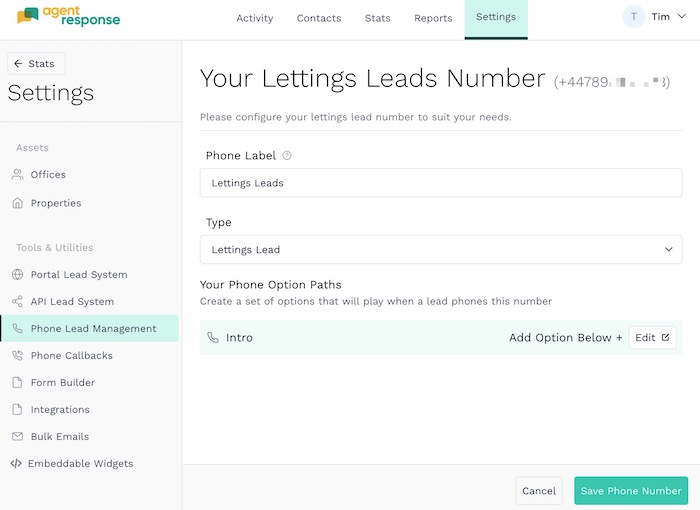
If we look at the Lettings lead number, the same steps and adjustments can be made to the others. Once you have chosen your template, you will see the initial set up.
- Phone label - an internal label for the purpose of the phone number
- Type - the type of enquiry it will be used to process
- Your phone path options - where you customise how the system will respond when the number is called
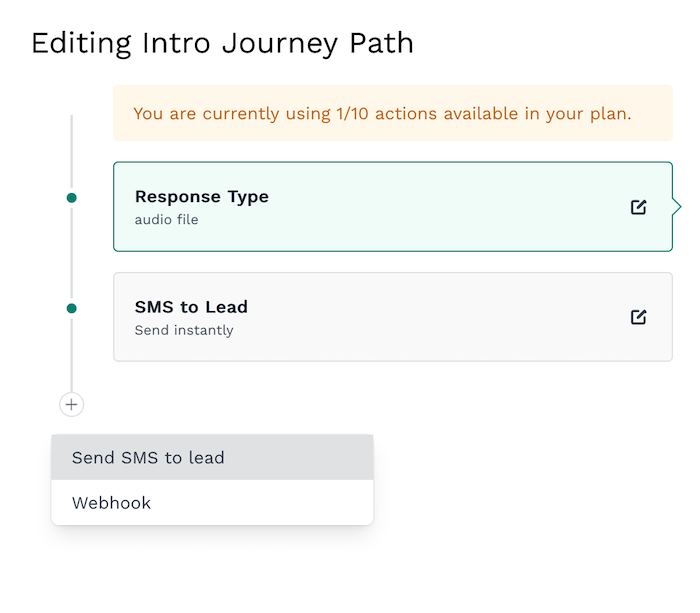
Once you’ve set the Phone Label and Type, there will be an Edit button on the green line that starts with Intro, clicking this will take you into the options that let you customise what the response is after someone calls the number. You will initially see a set up that looks like this.
Response Type controls which Office or Branch any calls made to the number will be attributed to in the system and the audio recording heard when you call the number. You will be able to view and edit the settings by clicking on the Response Type on the left.
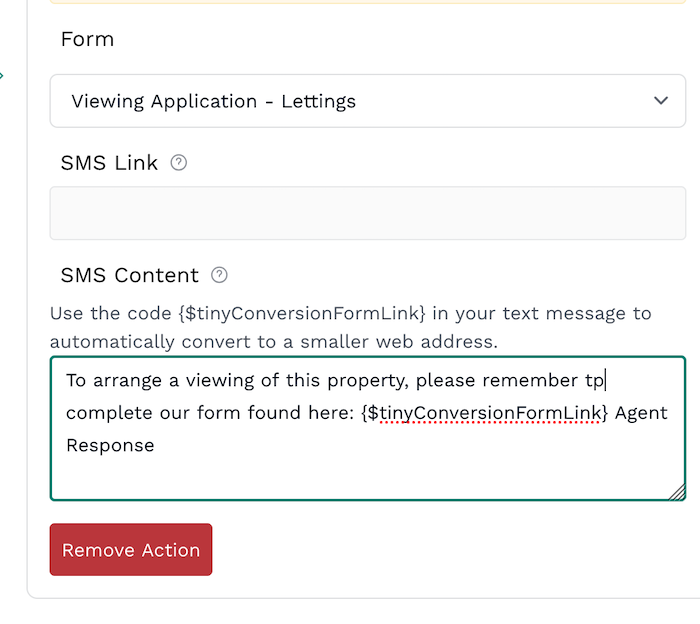
SMS to Lead is the step that comes after the recording has started, which is to send an SMS to the lead. Here you can edit the form it sends and the SMS content, make sure the {$tinyConversionFormLink} is kept in the SMS, as this will be replaced with the form link.
Adding a new action
You can also add new actions as well as the ones already there. We’ll look at an example, of sending a follow up SMS if the form hadn’t been completed in 24 hours. To start, on the left, under the 2 actions that are there, you will need to click the + icon, which will bring up a dropdown of the actions you can add, in this case Send SMS to lead.
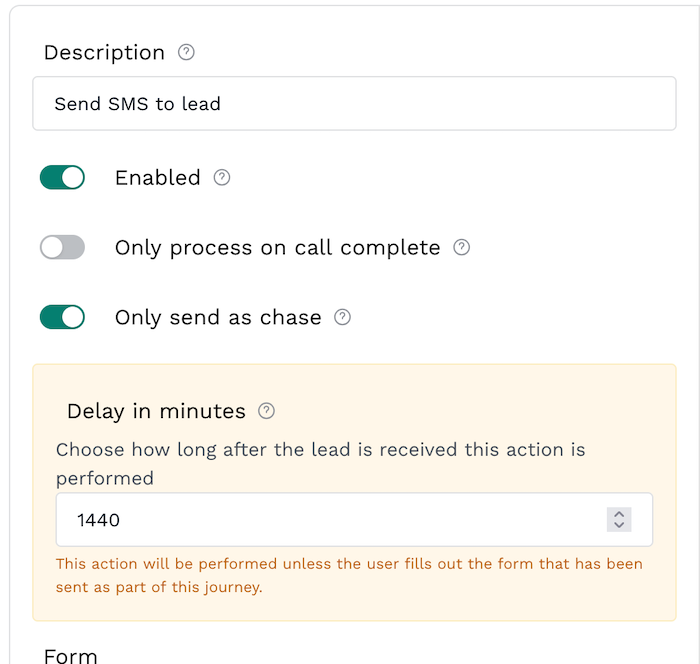
This will add a follow up action after the SMS to Lead. For the description, we will name this Chase after 24 hours, make sure Enabled is selected to make sure the action is active, and Only send as chase is selected, as this will then only send if the form has not been completed.
In the box labelled Delay in minutes, we can add how long the system will wait before it sends the SMS, for 24 hours it would 1440.
At the bottom, under Form select the form you want to send, and SMS Content, what you will say in the SMS that will be sent, making sure to keep the {$tinyConversionFormLink}, as this will be replaced with a link to the form.
Once you have finished making changes, click the Done button in the bottom right, and then the Save Phone Number button. Once the phone number has been saved, a message will appear at the top of the screen to notify you it has successfully saved.
|
Rate this Topic:
|
|||
|